Journal › Apple Wallet

How to add a photo or screenshot to Apple Wallet

Apple Wallet cannot normally import an ordinary image. If the photo or screenshot contains a QR code or barcode, Img2Wallet can turn it into a native, scannable Wallet pass in about two minutes.

Quick answer: save the image on your iPhone, import it into Img2Wallet, check the detected barcode, then tap Generate & Add to Wallet. The finished pass appears in Apple Wallet and on a paired Apple Watch.

What you need

  • An iPhone with the image saved in Photos.
  • A visible QR, PDF417, Aztec or Code 128 barcode.
  • The free Img2Wallet app.

Step by step

  1. Open Img2Wallet. Choose the option to add a card from an existing image.
  2. Select the photo or screenshot. Apple's photo picker gives the app only the image you select.
  3. Review the result. Give the pass a useful name and check that the detected barcode is correct.
  4. Add it to Wallet. Tap Generate & Add to Wallet, then confirm in Apple's standard Wallet sheet.
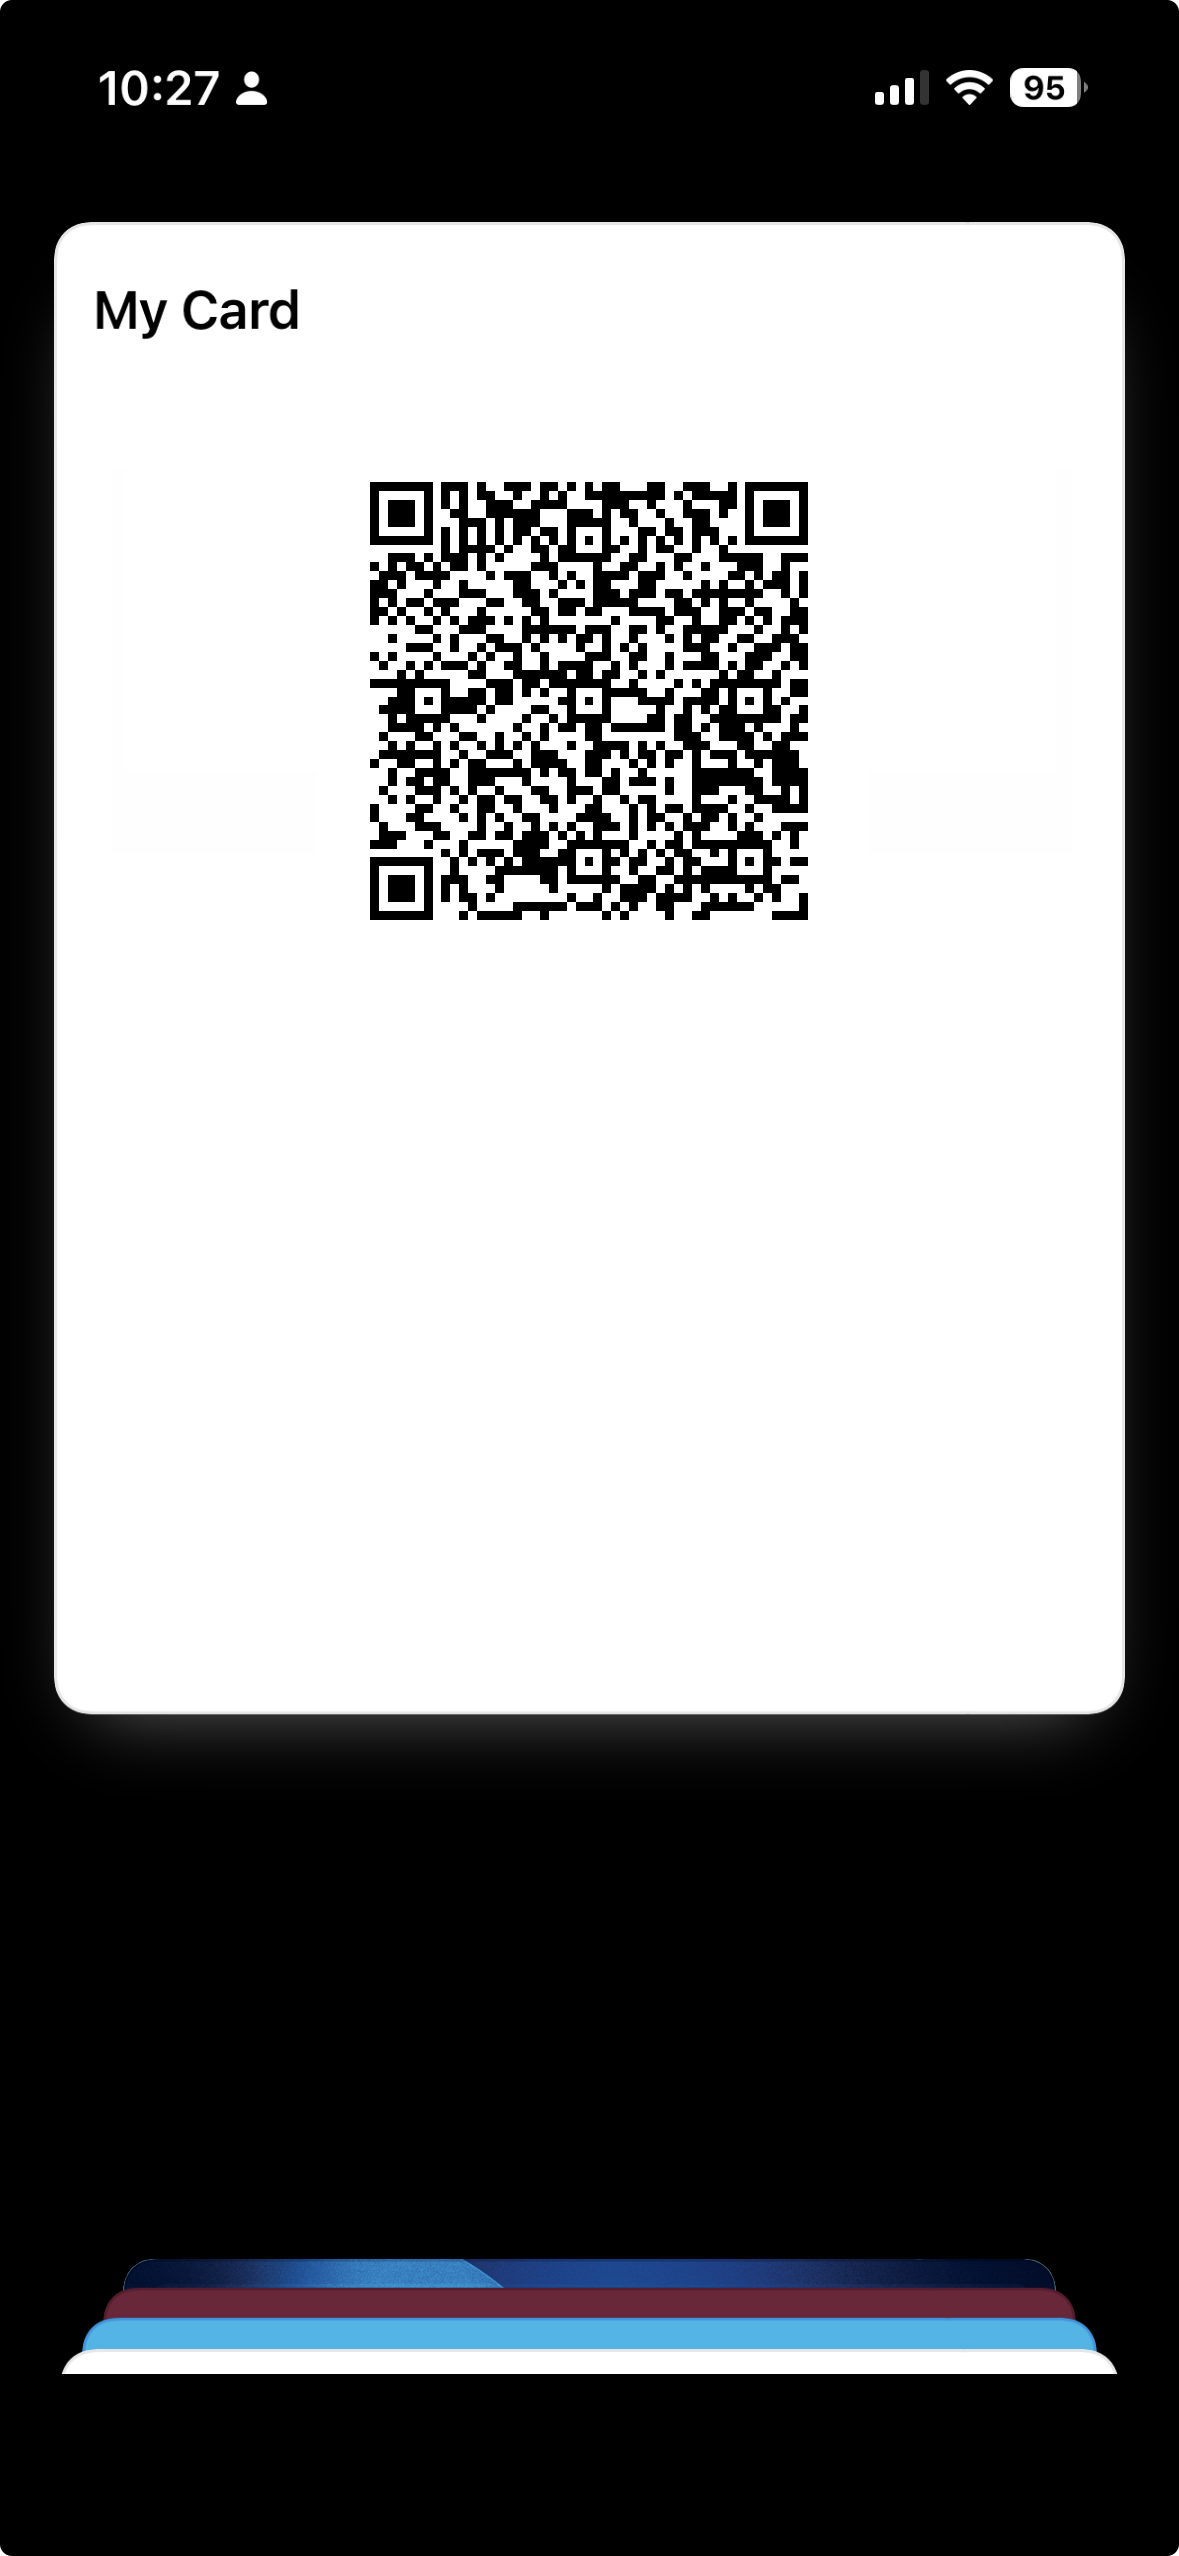
A finished Img2Wallet pass with a QR code displayed in Apple Wallet on iPhone
A finished image-based pass in Apple Wallet.

If the barcode is not detected

  • Crop away unrelated text and other barcodes.
  • Use the original screenshot rather than a compressed image from social media.
  • Make sure the complete code is visible, straight and in focus.
  • Increase contrast if the code is very faint.

Is the image uploaded?

Barcode recognition happens on the iPhone. The selected image is then sent over an encrypted connection to Polyphasic Developers' server for the cryptographic signing step Apple Wallet requires, and is deleted when signing finishes. There is no account and the image is not used for advertising. See the Img2Wallet privacy policy.

Img2Wallet

Turn the image into a real Wallet pass.

Free to use, with an optional one-time purchase that removes all advertising permanently.